The Golden Seven Principles of PCBA Layout – A professional hardware design Guide that even beginners can easily master
News 2026-02-14
7 Golden Rules of PCB Layout – Self‑Checklist
- ✅ Are core signals routed in order: Input → Processing → Output, without detours or crossings?
- ✅ Is ≥5mm clearance reserved around adjustable components for testing?
- ✅ Are differential/symmetric circuits geometrically symmetrical?
- ✅ Are similar components aligned uniformly to meet DFM requirements?
- ✅ Are analog/digital, high/low voltage, and heat‑sensitive devices properly isolated?
- ✅ Are high‑speed signals routed without crossing reference plane splits?
- ✅ Is the board layout balanced with even weight distribution?
PCB layout is a core part of hardware design, directly affecting electrical performance, anti‑interference capability, production efficiency, and ease of testing and maintenance. Following these 7 golden rules and applying them in real projects helps create standardized, efficient layouts and avoids fundamental circuit issues.
Rule 1: Follow Signal Flow, Minimize Detours
Signal flow is the first principle of PCB layout and the logical starting point. It ensures signals travel along the shortest, most direct path, reducing delay, attenuation, and interference.
Core Requirement: Arrange key components in the order Input → Processing → Output according to the block diagram, avoiding crossings and detours.
Key Practices: Keep critical signals such as clocks and high‑speed differential lines as short as possible. Place decoupling capacitors directly at IC power pins to minimize the power‑ground loop for optimal filtering.
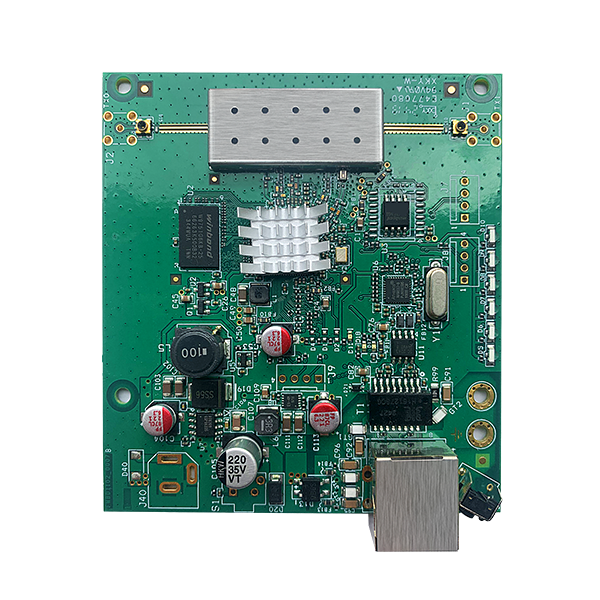
Example: In a UART‑to‑Ethernet module, the signal chain follows RJ45 → Magnetics → Ethernet IC → MCU → DB9. Critical components are placed in a straight line. The Ethernet clock uses a short surface path to the crystal. 100nF 0402 decoupling capacitors are placed adjacent to each power pin of the Ethernet IC and MCU, with power loops under 2mm, greatly reducing noise and ripple.
Rule 2: Function First, Balance Test & Maintainability
Layout must balance ideal electrical performance with practical physical access, achieving both functionality and serviceability.
Core Requirement: Prioritize circuit function, then consider ease of testing, adjustment, and repair.
Key Practices: Do not place large components near small ones to avoid blocking access. Reserve sufficient space (≥5mm) around potentiometers and adjustable resistors for soldering and measurement.
Example: In an adjustable power supply, the power IC, diodes, and filter capacitors are tightly grouped. The precision potentiometer is placed at the board edge with 8mm clearance and no overlapping components, allowing easy access for multimeters and soldering irons without disassembly.
Rule 3: Symmetrical Layout & Modular Design
Modularity and partitioning are top‑down methods for complex systems, resulting in cleaner layout and more stable performance.
Core Requirement: Use symmetric layout for differential amplifiers and matched power modules. Divide the board into digital, analog, and power sections with grouped components.
Key Practices: Maintain balanced density. Leave ≥20mm between modules for separation and shielding.
Example: A high‑precision differential acquisition module uses fully symmetric dual op‑amp layout with matched passive components symmetrically placed around the differential axis, improving accuracy by 30%. The board is split into analog, digital, and power zones with 25mm spacing, enabling effective shielding via ground planes.
Rule 4: Align Similar Components for DFM & Efficiency
This is a core DFM (Design for Manufacturing) practice that improves SMT speed, reduces nozzle rotation, and lowers assembly errors.
Core Requirement: Align resistors, capacitors, and through‑hole components in consistent X or Y orientation. Maintain uniform polarity for diodes and electrolytic capacitors.
Key Practices: Place passives in neat grid alignment. Orient ICs consistently for SMT and AOI inspection.
Example: A Bluetooth speaker board with nearly 100 0603 components uses uniform horizontal placement with consistent polarity and pin‑1 direction. SMT efficiency increased by ~40%, and placement error dropped from 0.5% to below 0.05%.
Rule 5: Isolate, Isolate, Isolate!
Proper isolation is critical for EMI/EMC, thermal performance, and safety compliance.
Core Requirement: Isolate analog/digital, high/low frequency, high/low voltage, and heat‑sensitive devices using zoning and clearance control.
Key Practices:
1. Separate analog/digital and high/low frequency with ground or clearance.
2. Distribute heat sources evenly, keep ≥5mm from sensitive parts.
3. Fully separate high and low voltage: >20mm clearance if voltage difference >10V.
Example: An industrial PLC board separates 220V AC and 5V/3.3V DC with a 30mm isolation zone. Heat‑generating components are placed away from crystals and MCUs. High‑frequency and low‑frequency modules are split by ground planes, enabling successful EMC compliance.
Rule 6: Avoid Return Path Disruption & Plane Splits
This is essential for high‑speed design. The goal is to maintain continuous return paths for high‑speed signals.
Core Requirement: Do not route high‑speed or clock signals across split reference planes.
Key Practices: Plan power and ground splits early. If crossing splits is unavoidable, add stitching capacitors at the split.
Example: A USB 3.0 board running at 5Gbps uses a continuous ground plane for differential pairs. A clock signal crossing a power split is supported by 100nF + 10uF stitching capacitors, maintaining a clean return path and keeping bit error rate below 10⁻⁹.
Rule 7: Balanced & Clean Layout
A clean, balanced layout supports uniform thermal and mechanical stress and improves manufacturability.
Core Requirement: Distribute components evenly to avoid lopsided weight or overcrowding.
Key Practices: Place heavy components like connectors and transformers near the board center or edge evenly. Avoid grouping parts on one side to prevent warping.
Example: A high‑power adapter places the transformer at the geometric center, with large capacitors and heatsinks distributed evenly. Small components fill remaining space. This balance prevents PCB warpage and evenly distributes mechanical stress, avoiding solder joint fatigue.
Many beginners group all decoupling capacitors in a corner with long traces to IC pins, which looks neat but ruins filtering. Always place caps directly at pins – prioritize short loops over visual tidiness.
Recommended PCB Layout Tools
- Entry: Altium Designer (AD), LCEDA (free, Chinese, beginner‑friendly);
- High‑Speed: Cadence Allegro, SI9000 (impedance calculation);
- DFM: CAM350, JLCPCB DFM Checker (free online).